Creating a staging site
Here’s how easy it is to create a staging site with WP Stagecoach.
Sign up for a WP Stagecoach account
Sign up for a WP Stagecoach account. Once you have completed your purchase, you can download the WP Stagecoach plugin, either from the link in your purchase confirmation email, or from your Account page.
Install WP Stagecoach on your WordPress site
Once you have downloaded WP Stagecoach, you can install it on your site. Go to Plugins –> Add New, and click on Upload Plugin. Browse your computer to find your copy of WP Stagecoach, then click Install Now. Once the plugin is installed, click Activate Plugin.
Enter your license key
Click on WP Stagecoach in your dashboard menu. Enter your username and API key. Your username is the username you selected when you signed up for WP Stagecoach. You can find your API key in your purchase confirmation email, or on your Account page.
Note: there are several other options on this settings page:
- Delete plugin settings when you disable the plugin. Check this if you want your username and API key to be deleted as soon as you disable the plugin. This is useful if you are using the plugin on a client’s website and don’t want them to use your API key!
- Enable advanced options. Advanced options include the ability to turn off hotlinking and to force WP Stagecoach to delete its options and transients.
- Enable debug menu. If you have running into problems using WP Stagecoach, turning on the debug menu will help you track down the issues.
- Optimize WP Stagecoach for a slower server. If creating or importing your staging site is stalling, you can enable this option and try again.
Create a staging site
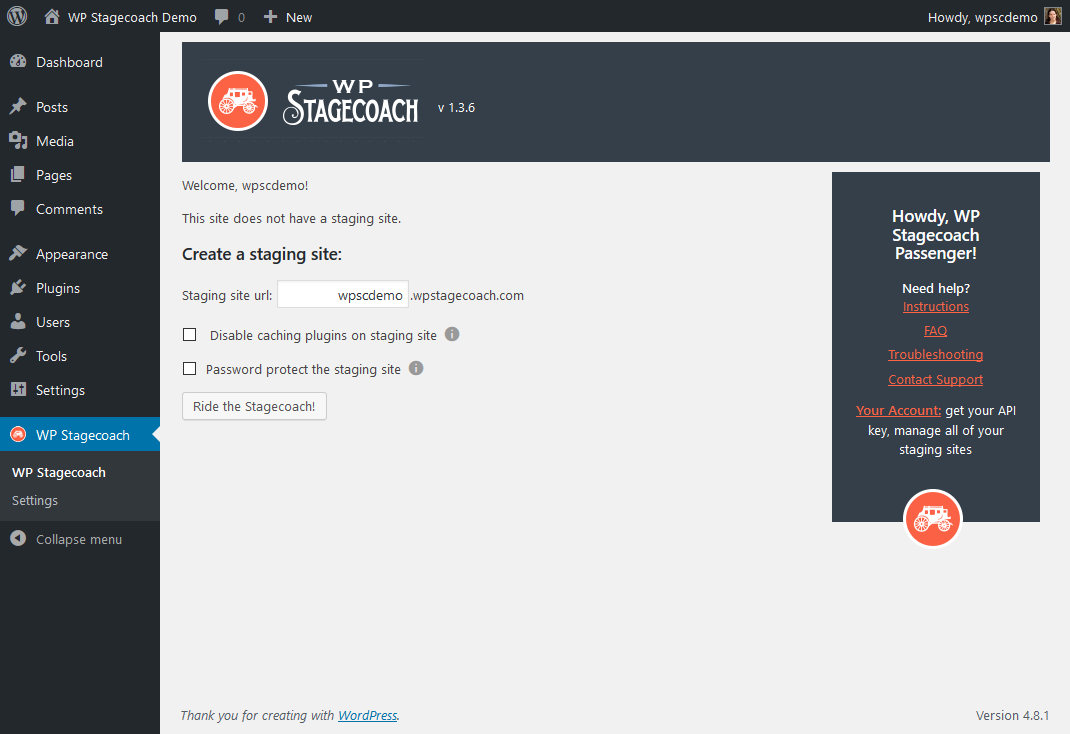
Click on WP Stagecoach in your dashboard menu. Click Ride the Stagecoach! If you want, you can adjust some of the options before you create your staging site:
- You can customize the staging site’s URL.
- If you are running a caching plugin on your website, it is a good idea to select Disable caching plugins on staging site – caching plugins get confused when your site URL changes, and your staging site won’t work properly until you turn off the caching plugin. However, note that if you check this box, and then you enable or disable any plugins on your staging site, your caching plugin will be disabled on the live site when you import changes and you will need to re-activate it.
- Password protect the staging site: if you want visitors to have to enter a password before they can view the staging site, select this option and you can choose your username and password.
After you click Ride the Stagecoach, WP Stagecoach will go through several steps to create the site, and will display messages about what it is doing. When your staging site is done, WP Stagecoach will ask you for feedback about how it went. You can use this feedback form to report any errors to our support team, and we will contact you to resolve the issue. We also really appreciate knowing when staging site creation goes smoothly.
Edit your staging site
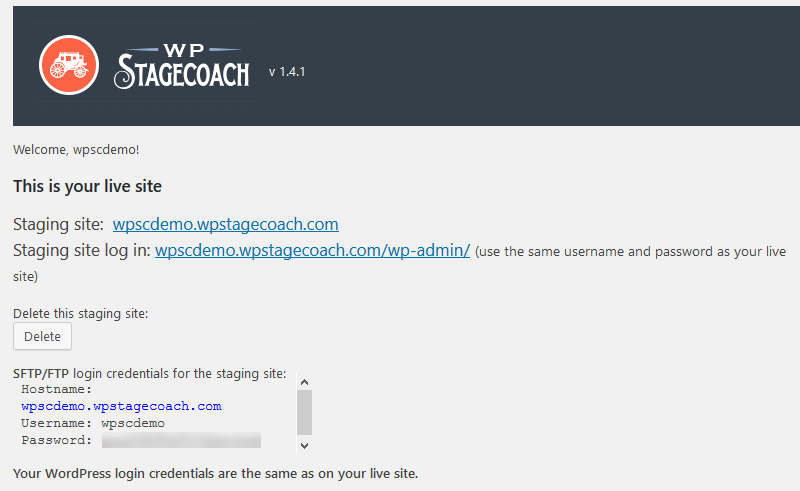
Once your staging site is done, you will be given the URL where you can view your site. You can log in to your staging site’s WordPress dashboard using the exact same username and password that you use on your live site. You can also connect to your staging site via FTP or SFTP using the credentials displayed on the WP Stagecoach page. This information is also available on your Account page.
Your staging site is a fully-functional WordPress site, so you can do anything on your staging site that you would do on a normal WordPress site.
Import changes

When you are ready to import changes from your staging site to your live site, go to WP Stagecoach –> Import Changes. Click on Check for changes to find what has changed on your staging site. WP Stagecoach may take a few minutes to find all of the changes. When it is done, you can choose from three different kinds of import:
- One-click: this is the simplest import. You can choose whether you want file changes, database changes, or both, and click Import.
- Advanced: if you don’t want to import all of your changes, you can use the Advanced import tab to select only certain changes to import. Note: we don’t recommend selecting only some database changes, because each action in WordPress can affect several different WordPress tables, and only importing some changes could make a big mess of your site.
- Manual: sometimes one-click and advanced imports fail. When this happens, you can do a manual import. Manual imports are a little more work, but are very reliable.
Select what you want to import, then click Import. WP Stagecoach will go through several steps to import your changes, displaying messages to inform you of its progress.
Clean up and delete your staging site
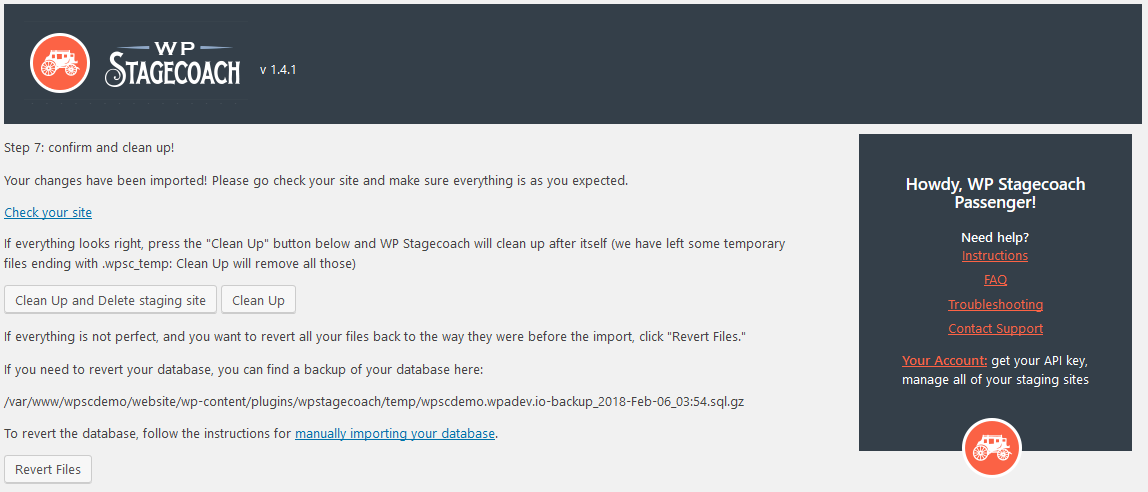
After the import is finished, you can check your live site to make sure that the changes imported as expected. If they did, you have two options:
- Clean up and delete staging site: click this if you are done using the staging site. WP Stagecoach will delete the temporary files it created and delete the staging site. We recommend deleting your staging site after every import, even if you want to continue using a staging site – the more you import from one staging site, the less reliable the imports become.
- Clean up: if you need to continue using this staging site, you can just clean up to get rid of WP Stagecoach’s temporary files.
If importing did not work correctly, you can click Revert files to restore your files to their pre-import state. WP Stagecoach also gives you a link to a backup of your database so that you can restore from the backup.


